A Pastry Professional’s Guide to the Perfect Holiday Cookie Box
Beyond its glistening lights and joyous carols, the holiday season is inextricably linked to the delightful scent of freshly made cookies. More than just a selection of sweets, a carefully prepared cookie box is a considerate act, a demonstration of baking skill, and a material representation of holiday cheer. For the pastry expert, creating the ideal holiday cookie box requires careful planning, a sense of balance, and an awareness of how flavors, textures, and aesthetics work together to produce an edible gift that will be remembered for a long time. In order to ensure that every recipient has a moment of pure, festive joy, this thorough guide will guide you through the expert process of creating a cookie box that will impress and delight.
The Philosophy of the Perfect Cookie Box: More Than Just Cookies
Before even preheating the oven, a pastry expert considers the overall experience. A successful cookie box tells a story and offers a journey of tastes.
- Diversity is Key: Avoid repetition. The goal is to offer a variety that caters to different palates and preferences.
- Texture Contrast: A truly exciting box features a range of textures – crisp, chewy, tender, melt-in-your-mouth.
- Flavor Harmony and Contrast: Think about a balanced palate. Include classics, something rich, something bright, something spiced, and something perhaps a little unexpected.
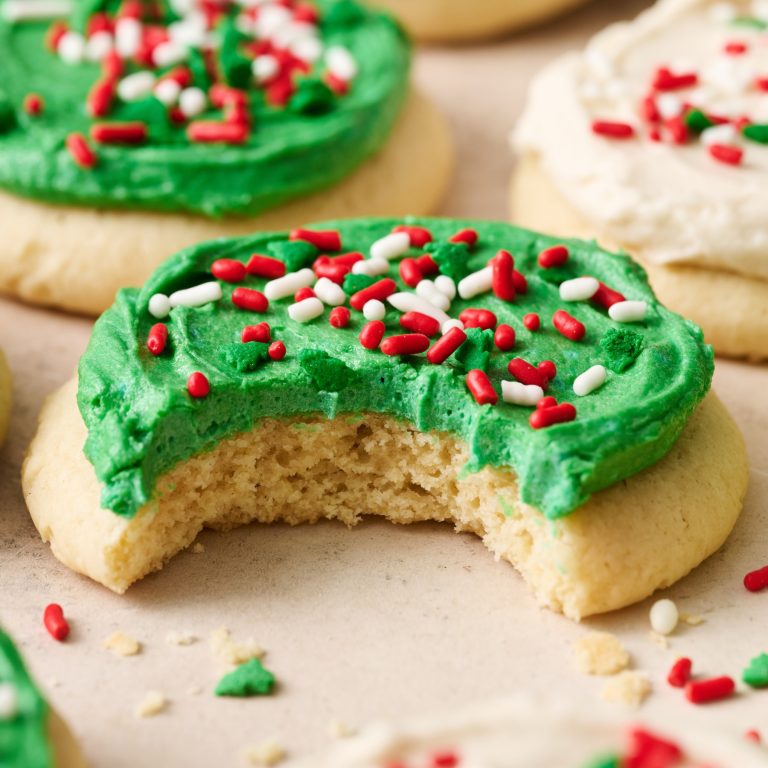
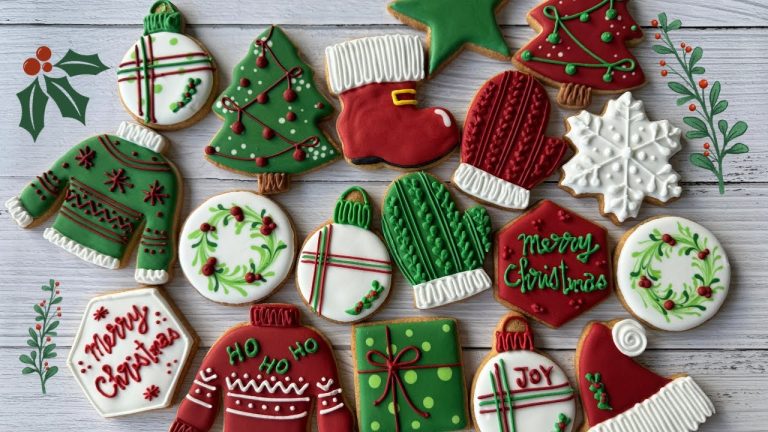
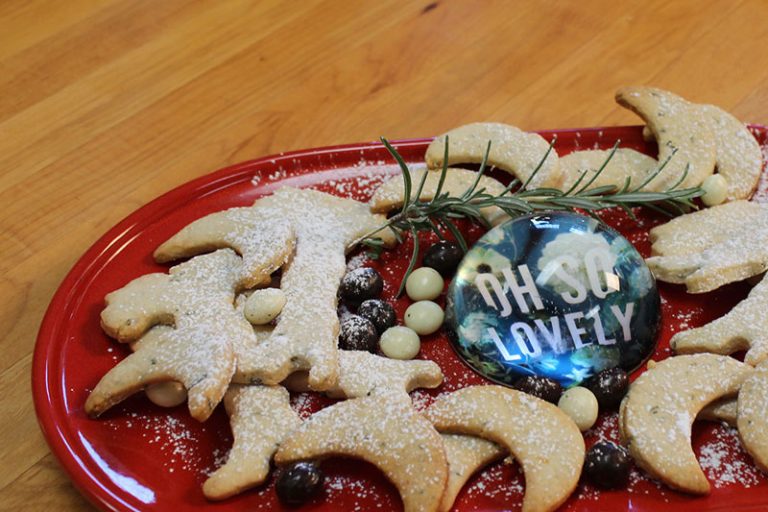
- Visual Appeal: The box should be a feast for the eyes before it’s a feast for the mouth. Colors, shapes, and garnishes matter.
- Shelf Stability: For gifting, consider how well cookies will hold up over time and during transport.
Step 1: The Strategic Selection – Choosing Your Cookie Lineup
Aim for 5-7 different varieties, with varying degrees of complexity. This allows for diversity without overwhelming the baker.
- The Comfort Classic (1-2 varieties):
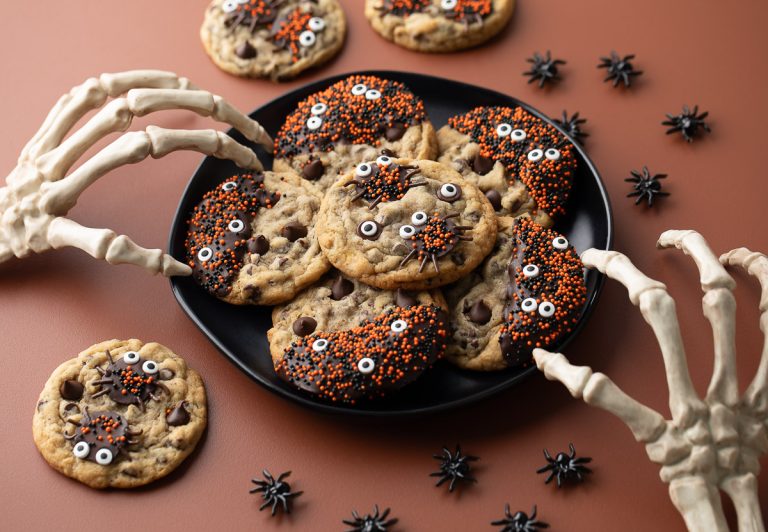
- Chocolate Chip Cookies: A non-negotiable. Vary by texture (chewy, crispy, or a thick bakery-style). Consider a brown butter version for depth.
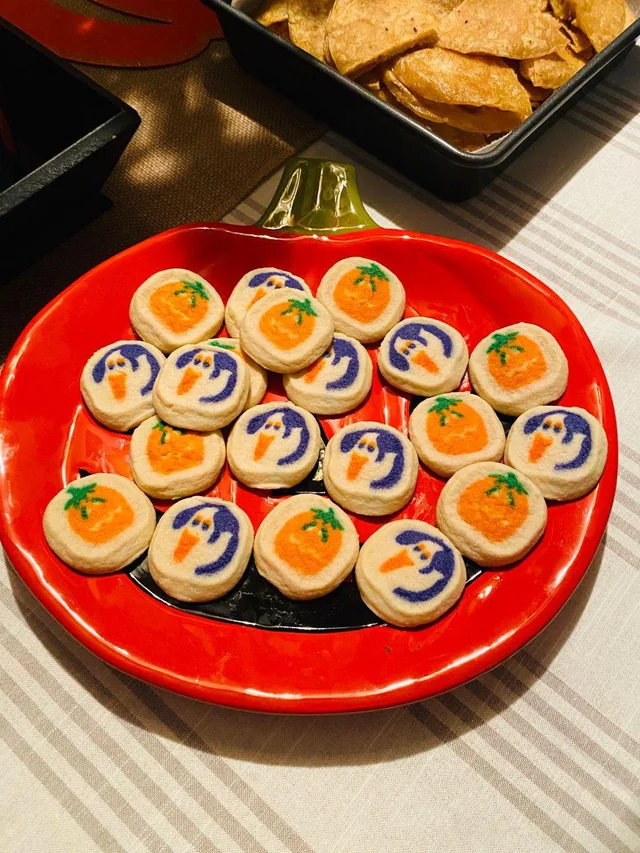
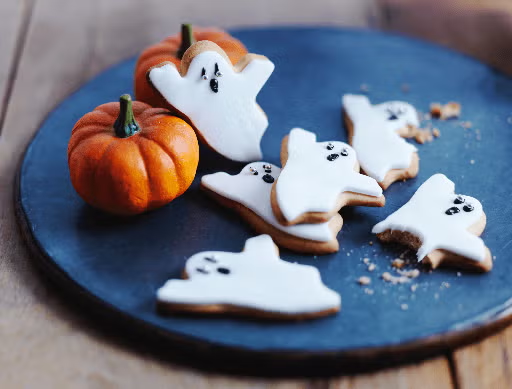
- Sugar Cookies (Decorated): Essential for visual appeal and customizable festive designs. Offer a basic vanilla or almond flavor.
- Oatmeal Raisin/Chocolate Chip: A wholesome, chewy favorite.
- Why: These are universally loved, approachable, and provide a familiar anchor.
- The Spiced & Aromatic (1-2 varieties):
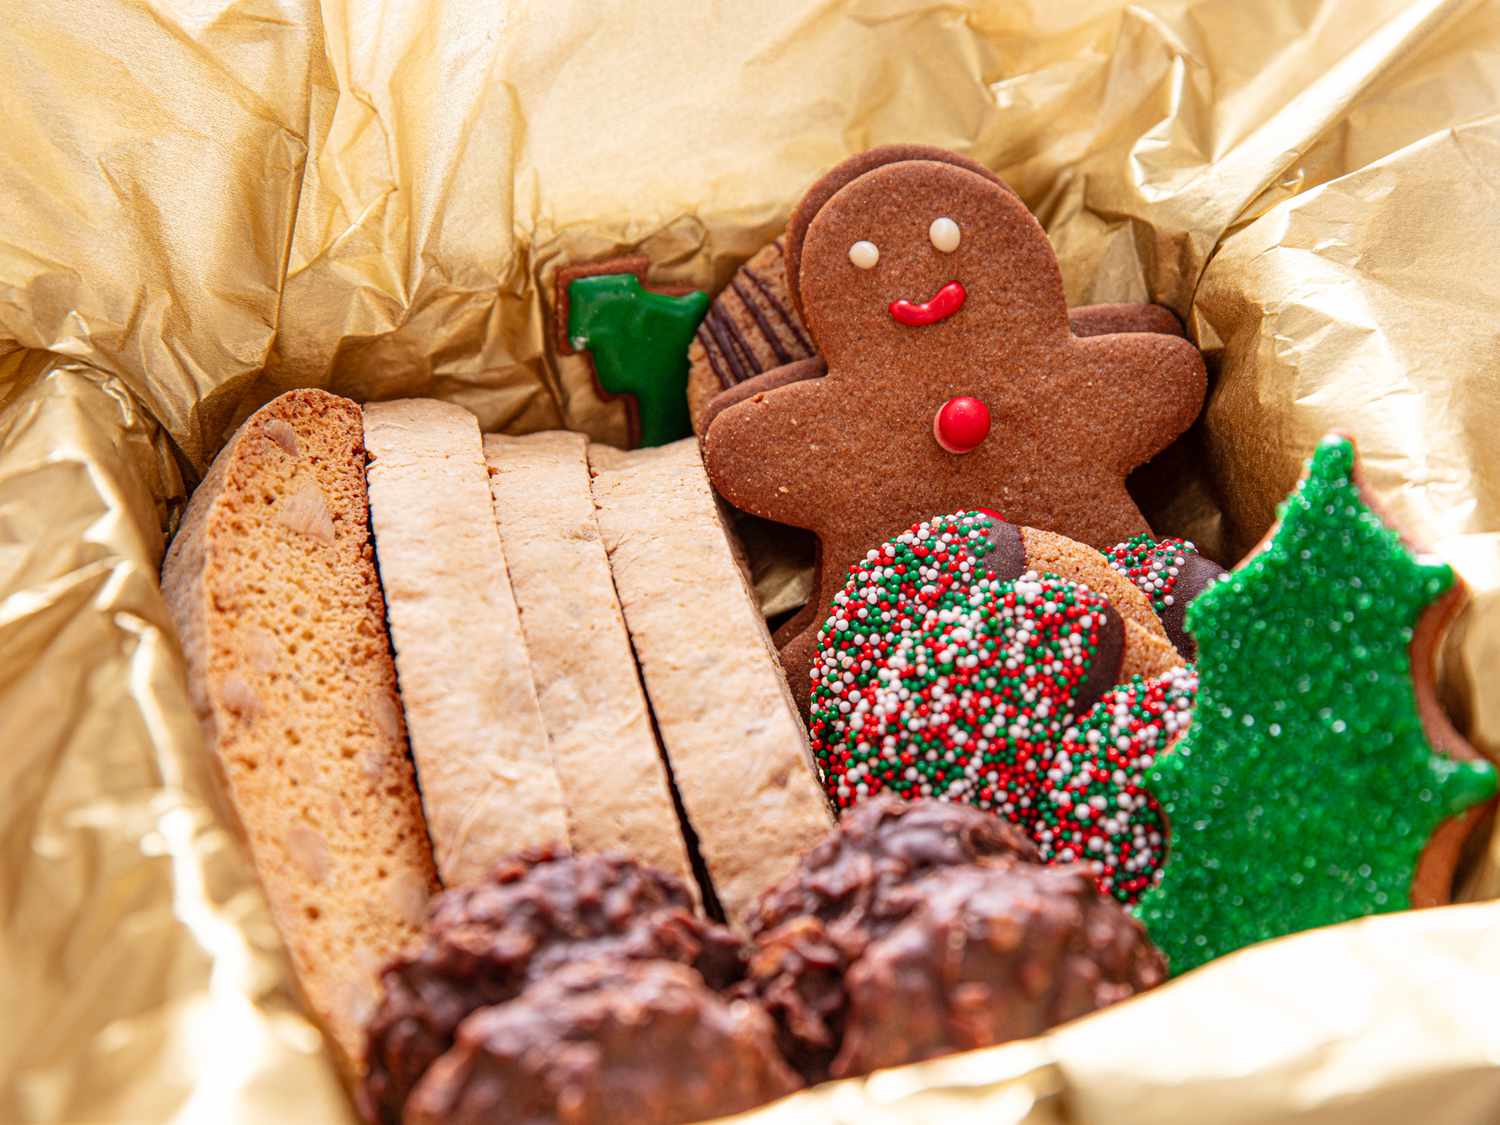
- Gingerbread Cookies: Cut-out figures or soft, chewy molasses cookies. A true holiday scent.
- Snickerdoodles: Cinnamon-sugar coated, soft, and tangy.
- Spiced Molasses Cookies: Deeply flavored and wonderfully chewy.
- Why: They evoke the traditional scents and flavors of the holiday season.
- The Rich & Decadent (1-2 varieties):
- Fudgy Brownie Cookies: An intensely chocolatey, often crackled-top cookie.
- Peanut Butter Blossoms: Soft peanut butter cookies with a chocolate kiss.
- Thumbprint Cookies (with jam or caramel): Buttery shortbread with a sweet, gooey center.
- No-Bake Chocolate Peanut Butter Cookies: Quick, rich, and a nice textural contrast.
- Why: To satisfy the craving for something truly indulgent and luxurious.
- The Bright & Zesty / Nutty (1 variety):
- Lemon Ricotta Cookies: Light, tender, and bright with citrus.
- Almond Biscotti: Crunchy, perfect for dipping in coffee or hot chocolate.
- Pistachio Shortbread: Elegant, buttery, and beautifully green.
- Linzer Cookies: Delicate, nutty cookies with a peek of colorful jam.
- Why: To provide a refreshing counterpoint to richer flavors, or a sophisticated nutty crunch.
- The Unexpected / Professional Touch (Optional):
- Macarons: If skilled, these add an unparalleled touch of elegance and delicate texture.
- Spiced Nuts: Not a cookie, but a lovely savory contrast.
- Hand-Dipped Pretzels: Chocolate-dipped with sprinkles or drizzles.
- Why: To elevate the box from homemade to artisanal.
Step 2: The Art of Production – Baking with Precision
Efficiency and quality are paramount when baking multiple batches.
- Plan Your Baking Schedule:
- Dough Preparation: Many cookie doughs (chocolate chip, sugar, gingerbread) benefit from chilling 1-3 days ahead. Prepare these first.
- Baking Order: Start with cookies that require less attention or don’t spread much (e.g., cut-out sugar cookies). Bake similar oven temperature cookies together.
- Decorating: Save intricate decorating for the last day or two before assembly. Frosting and royal icing need drying time.
- Ingredient Sourcing: Use high-quality ingredients. Good butter, fresh eggs, and premium chocolate make a discernible difference.
- Accuracy is Key: Use a kitchen scale for precision, especially for flour and sugar. Consistent measurements ensure consistent results.
- Cooling Properly: Allow cookies to cool completely on wire racks before storing or decorating. This prevents sogginess and breakage.
- Storage Between Baking and Assembly:
- Store baked cookies in airtight containers at room temperature.
- Separate different flavors with parchment paper to prevent flavor transfer.
- Cookies like gingerbread and shortbread often improve after a day or two.
Step 3: The Aesthetic Assembly – Curating the Visual Feast
This is where the box transforms from a collection of cookies into a thoughtful gift.
- Choose the Right Box:
- Sturdy: Ensures cookies arrive intact.
- Food-Safe: Essential for direct contact with food.
- Attractive: A beautiful box is part of the gift. Cardboard bakery boxes, tin containers, or even clear plastic containers work well.
- Layering and Cushioning:
- Line the box with parchment paper, tissue paper, or festive cellophane.
- Use crinkle paper, food-safe shredded paper, or small cupcake liners to cushion cookies and prevent them from shifting and breaking.
- Arrangement Strategy:
- Variety of Shapes & Colors: Place different shapes (round, cut-out, oblong) and colors next to each other for visual contrast.
- Tallest in the Center/Back: If stacking, place taller or larger cookies in the center or towards the back.
- Delicates on Top: Place fragile or elaborately decorated cookies on the top layer to prevent crushing.
- Clustering: Group 2-3 of each type of cookie together for an abundant look.
- Finishing Touches:
- Garnishes: A sprinkle of powdered sugar, a few fresh cranberries or sprigs of rosemary (just before gifting, if desired for scent/look), or edible glitter.
- Ribbon and Tags: A festive ribbon and a handwritten tag with “Made with Love” or a list of cookie types adds a personal, professional flourish.
Step 4: The Presentation and Gifting – Final Polish
- Consider Transportation: If the box will travel, choose cookies that are robust. Pack tightly but gently.
- Storage Instructions (Optional): For delicate items, a small card with storage suggestions (e.g., “Best enjoyed within 3 days,” “Store in a cool, dry place”) can be helpful.
- Personalization: A small note expressing holiday wishes elevates the gift.
Building the perfect holiday cookie box is a labor of love that combines culinary skill with thoughtful presentation. By strategically selecting a diverse range of cookies, executing precise baking techniques, and assembling them with an eye for aesthetic appeal, you can create a truly memorable and heartwarming gift that encapsulates the joyous spirit of the season. Happy baking, and may your cookie boxes bring smiles and sweet memories this holiday!